Are you ready to transform a tiny computer into a powerful server, capable of hosting applications, serving files, and even managing your smart home? This is no longer a futuristic fantasy; it's an achievable reality with the Raspberry Pi and Ubuntu Server, a pairing that empowers you to build your own digital dominion, from the comfort of your home.
We often find ourselves navigating the complex web of technology, seeking solutions to streamline our digital lives. This journey leads us to the Raspberry Pi, a credit-card-sized marvel of engineering, and Ubuntu Server, a robust and versatile operating system. Combining these two creates a potent force, enabling us to control our digital environment. The initial hurdle, however, is setting up the system. This process, while not excessively complicated, requires careful execution and understanding. Fear not, as we will navigate each step, turning the challenge into an achievable goal. Forget those search results that didnt provide what you were looking for; this guide is tailored to clarify the process and equip you with the knowledge to unlock the Raspberry Pi's potential.
To embark on this exciting endeavor, the first step involves assembling the necessary tools and resources. While the core components are the Raspberry Pi itself and an SD card, a few additional items will be beneficial. A monitor with an HDMI input, though optional, simplifies the initial setup by providing visual feedback. A keyboard and a mouse enable direct interaction with the system during configuration. Furthermore, a stable internet connection is essential for downloading the Ubuntu Server image and other necessary software packages. With these items in hand, the journey to building your own personal server begins.
Read also:Vegamovies Alternatives Safety What You Need To Know
Alright, lets get our hands dirty and set up your Raspberry Pi with Ubuntu Server. This is the foundation of our entire setup, so pay close attention!
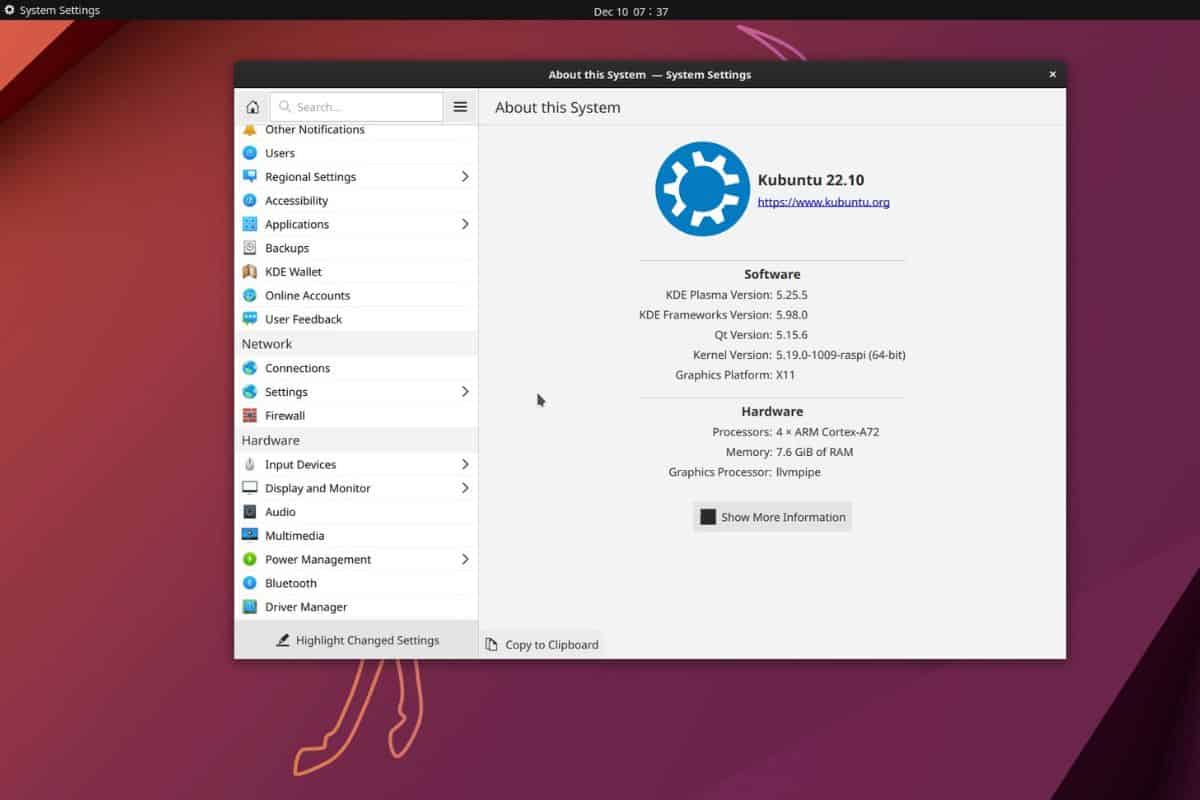
First things first, download the latest version of Ubuntu Server for Raspberry Pi from the official website. This image file contains the operating system tailored for the Raspberry Pi's architecture. Once downloaded, you'll need to "burn" this image onto your SD card. The Raspberry Pi Imager is an excellent tool for this task, offering a straightforward way to select the image file and write it to the SD card. This step effectively installs the Ubuntu Server operating system onto the SD card, preparing it for use in the Raspberry Pi.
With the Ubuntu Server image written to the SD card, the next phase is to insert the card into your Raspberry Pi and power it on. After this is done connect the monitor to HDMI input and keyboard and mouse to the USB ports. The Raspberry Pi will then begin the boot process. During this initial boot, you'll be prompted to set up the system, including creating a user account and configuring the network settings. Carefully follow the on-screen instructions, providing the necessary information. The most critical setup details is to set up the user account with strong password, and network settings.
Once the Ubuntu Server is set up, connect the raspberry pi to the router using the LAN cable. With the network established, the next step is often updating the system to ensure all software packages are current. This is typically done using the command `sudo apt update` and `sudo apt upgrade`. The commands, executed from the command line, will refresh the package lists and then install any updates. This is an important step to keep your system secure and functional.
In this section, we will look at installing MeshCentral on the famous Raspberry Pi. This installation will work on any version of the Raspberry Pi, but version 3 is certainly much faster. MeshCentral, a web-based remote management solution, empowers you to remotely control and manage your Raspberry Pi. The installation process, while involving several steps, offers the functionality to monitor your system, manage files, and even interact with the command line from a remote location.
Now, we will get deep into some of the more advanced features and the specific configurations needed for MeshCentral to function smoothly on your Raspberry Pi. The initial setup typically involves downloading the necessary packages and tools. Subsequently, you may need to configure the network settings to allow remote access to the MeshCentral server. Consider setting up a static IP address for your Raspberry Pi to ensure the remote access point is consistent. This can be done through the command line by using configuration files. Be aware that the specifics vary depending on your network configuration. The next thing is to set up a security certificate to secure the connection from your end. Following this, you will want to set up a dynamic dns to avoid the pain of having to remember the IP address of the server every time.
Read also:Exploring Mkvmoviespoint South Risks Legalities Movie Platform
After your server is fully online, you may also want to install chocolatey a package manager for windows, similar to apt for adding and removing software in Raspberry Pi OS. I think the Raspberry Pi Foundation should take over the maintenance of the Chocolatey package for Raspberry Pi Imager. An alternative would be to place Raspberry Pi Imager in Microsoft Store.
If you are installing Windows 10 on a PC running Windows XP or Windows Vista, or if you need to create installation media to install Windows 10 on a different PC, see using the tool to create installation media (USB flash drive, DVD, or ISO file) to install Windows 10 on a different PC section below.
As a final step, consider the concept of security hardening. This involves a series of steps to minimize vulnerabilities. Change the default SSH port, implement firewall rules to restrict access to unnecessary ports, and regularly update your system. Security is not a one-time task but an ongoing process that requires continuous attention and adjustment. By paying attention to these details, you can build a robust and secure server.
The journey from a Raspberry Pi and an SD card to a fully functional Ubuntu Server may seem intimidating at first, but with patient execution and a structured approach, it becomes attainable. The flexibility and the open-source nature of both Ubuntu Server and the Raspberry Pi provide you with great freedom in setting up and shaping your digital experience. Take your time, pay close attention to the details, and don't hesitate to consult the resources and documentation available online. This is about empowering yourself to take control of your digital environment, one step at a time.